This Easy Chocolate Nutella Gelato is a creamy and rich treat that’s super simple to whip up. With just a few ingredients, you’ll be scooping up deliciousness in no time!
I love how it melts in your mouth! Perfect for warm days or when I need a sweet pick-me-up. Just try not to sneak too many spoonfuls right from the bowl—it’s hard to resist! 😋
Key Ingredients & Substitutions
Whole Milk: Whole milk adds creaminess to the gelato. You can substitute it with 2% milk for a lighter option, but the texture won’t be as rich. Almond milk is another option if you want a dairy-free version, but the flavor might be a bit different.
Heavy Cream: This is essential for a silky texture. For a lighter gelato, you could swap it out for coconut cream for a unique taste. Keep in mind that this will change the flavor profile slightly.
Nutella: Nutella is what gives this gelato its delicious hazelnut chocolate flavor. If you’re avoiding nut spreads, use a chocolate fudge sauce or any other chocolate spread, but the result will taste different.
Granulated Sugar: If you’re looking to cut down on sugar, consider using a sweetener like stevia or erythritol, but use less, as they can be sweeter than sugar. Be sure to check ratios on the packaging!
How Do I Make Sure My Gelato is Smooth and Creamy?
Chilling the mixture before churning is crucial. It helps emulsify the ingredients and keeps your gelato silky. Here’s how to do it:
- Mix your ingredients in a saucepan and heat until warm (not boiling).
- Ex Bighe stir in the Nutella off the heat until smooth.
- Cool to room temp, then refrigerate for 2 hours or overnight. A colder base churns faster and helps prevent ice crystals.
When churning, don’t add too much at once—keep it to the machine’s recommended capacity. This ensures good air incorporation and smooth texture. Happy churning!
How to Make Easy Chocolate Nutella Gelato
Ingredients You’ll Need:
- 2 cups whole milk
- 1 cup heavy cream
- 2/3 cup granulated sugar
- 1/4 cup unsweetened cocoa powder
- 1 teaspoon vanilla extract
- 1 cup Nutella hazelnut spread
- A pinch of salt
- Chopped toasted hazelnuts or almonds, for garnish (optional)
- Extra Nutella for drizzling (optional)
How Much Time Will You Need?
This recipe takes about 15 minutes of active preparation time, plus a chilling time of at least 2 hours (or overnight if you plan ahead). Then, about 20-25 minutes to churn in the ice cream maker, followed by 2-4 hours in the freezer to firm up. So, set aside some time for the best gelato experience!
Step-by-Step Instructions:
1. Prepare the Base:
Start by whisking together the whole milk, heavy cream, granulated sugar, cocoa powder, and a pinch of salt in a medium saucepan. It’s important to mix well to combine everything thoroughly.
2. Heat the Mixture:
Place the saucepan over medium heat and stir frequently. You want to heat the mixture until the sugar and cocoa powder are completely dissolved, and it feels warm, but don’t let it boil! Watch it closely—this part is crucial for a creamy texture!
3. Add Nutella and Vanilla:
Once your mixture is warm, take it off the heat and stir in the Nutella and vanilla extract. Mix until everything is fully combined and smooth—this is where the magic happens!
4. Chill Out:
Let the mixture cool to room temperature. Then, cover it and pop it in the fridge for at least 2 hours, or even overnight. This chilling step is really important for making your gelato super smooth.
5. Churn the Gelato:
After your mixture is chilled, pour it into your ice cream maker and churn according to the manufacturer’s instructions. This usually takes about 20-25 minutes, and you’ll know it’s ready when it reaches a soft-serve-like consistency.
6. Freeze to Firm Up:
Transfer the gelato to a freezer-safe container and smooth the top. Cover it well and freeze for an additional 2-4 hours until it’s firm enough to scoop. The waiting is tough, but it’s worth it!
7. Serve and Enjoy:
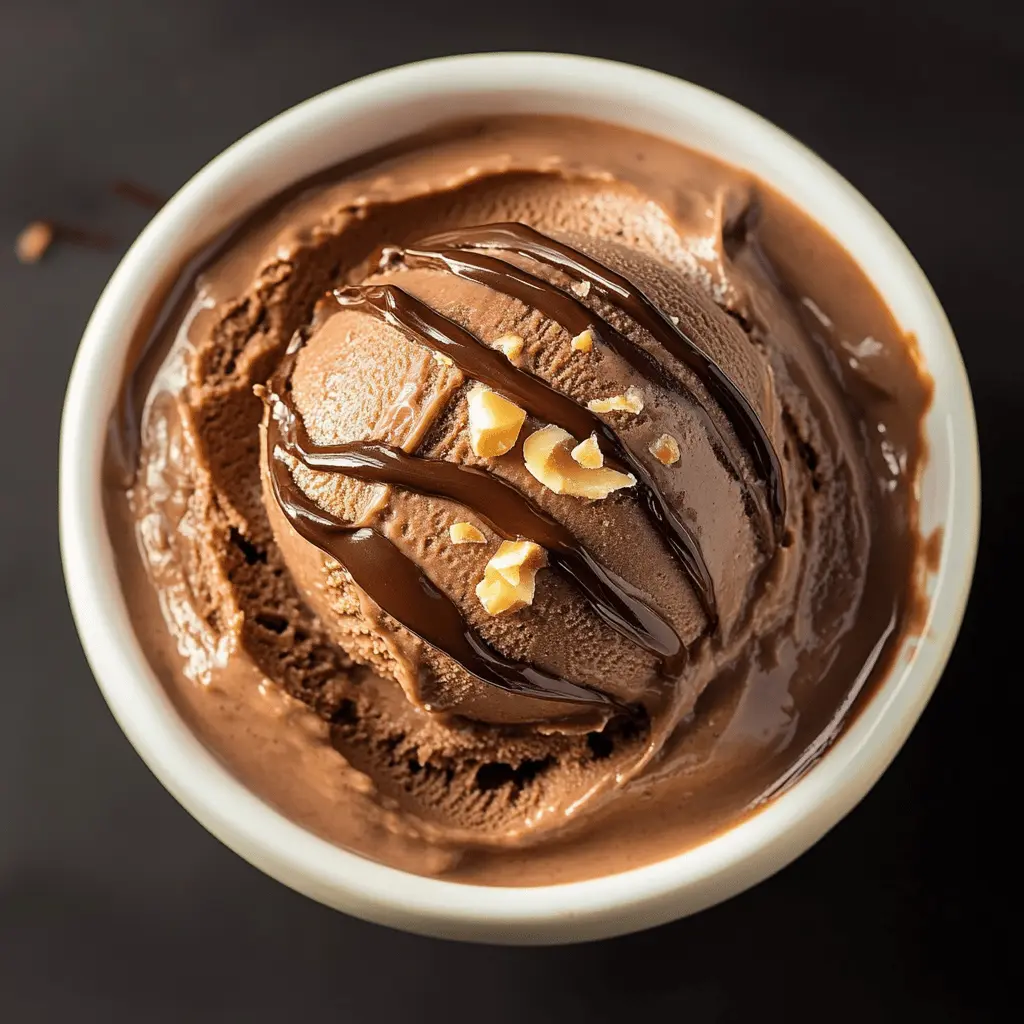
Scoop the delicious gelato into bowls, and if you like, drizzle a little extra Nutella on top and sprinkle some chopped hazelnuts or almonds for a nice crunch. Yum!
8. Store Your Gelato:
Any leftovers? No problem! Just store the gelato tightly covered in the freezer. Enjoy your homemade gelato on those warm, sunny days or whenever you need a sweet treat!
This recipe yields a mouth-watering, rich, and creamy gelato that’s bursting with flavor, thanks to the decadent Nutella and chocolatey goodness!

Frequently Asked Questions (FAQ)
Can I Use Low-Fat Milk Instead of Whole Milk?
Yes, you can use low-fat milk, but keep in mind that the gelato may not be as creamy and rich. If you want to keep it smooth, consider adding a bit more heavy cream to compensate for the lower fat content.
How Long Can I Store Leftover Gelato?
You can store leftover gelato in an airtight container in the freezer for up to 2 weeks. For the best texture, allow it to soften for a few minutes at room temperature before scooping, as homemade gelato can become quite hard.
Can I Make This Gelato Without an Ice Cream Maker?
Yes! If you don’t have an ice cream maker, pour the chilled mixture into a shallow dish and freeze it. Stir it every 30 minutes for the first 2-3 hours to help incorporate air and keep it creamy.
What Can I Use Instead of Nutella?
If you need a substitute for Nutella, try using any chocolate hazelnut spread or chocolate fudge sauce. For a dairy-free option, look for a vegan chocolate spread. Just remember that the taste and texture may vary slightly!