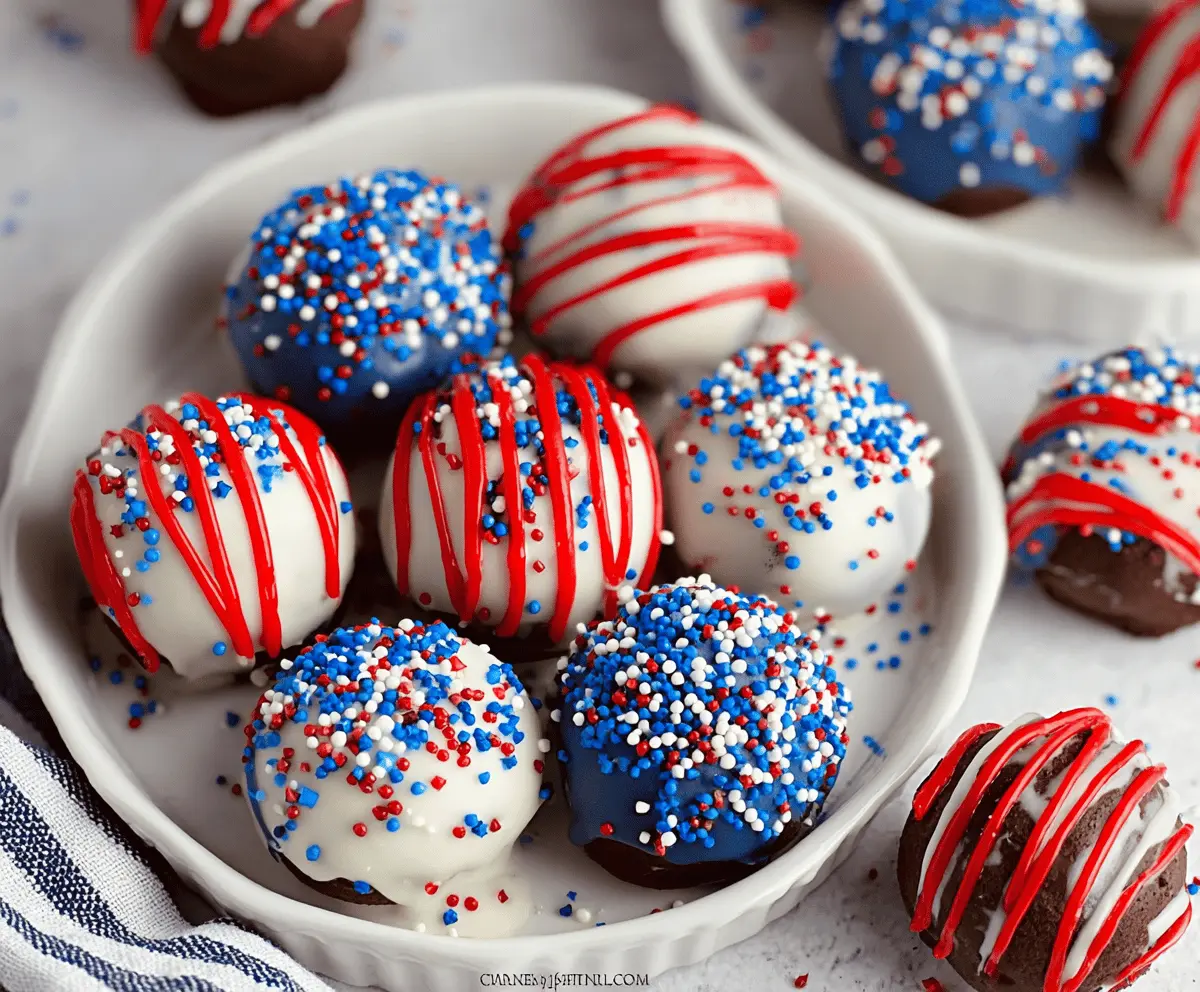
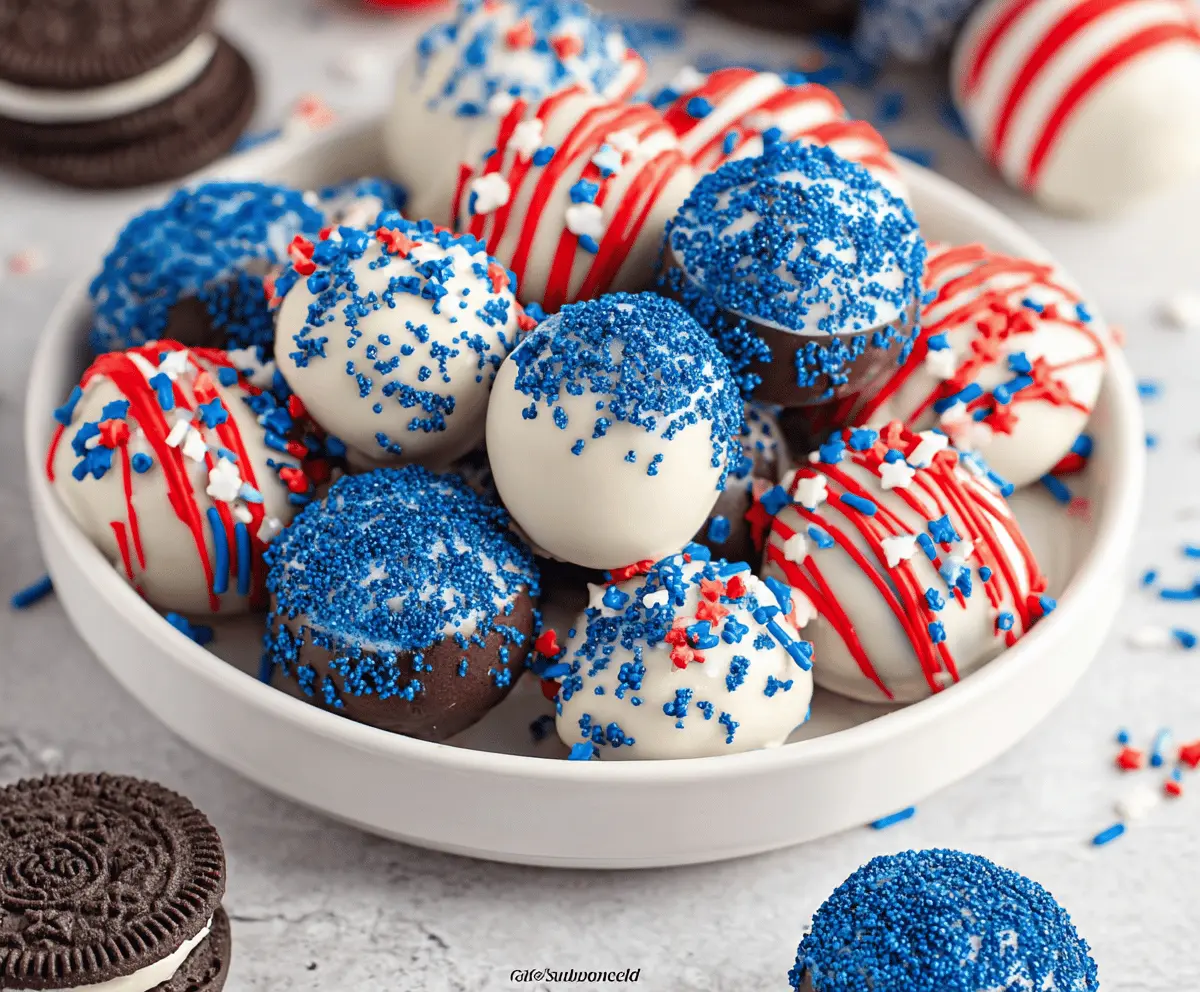
These fun and tasty Oreo balls are perfect for any party! Dipped in chocolate and made with crushed Oreos, they are a sweet treat that bursts with red, white, and blue colors.
Making these is a blast! I love rolling them up while enjoying the cheerful colors. Plus, they’re a hit with everyone—who can resist a good Oreo ball? 🎉
They’re easy to prepare and great for sharing. Just pop them in the fridge to chill, and you’ll have a crowd-pleaser ready in no time!
Key Ingredients & Substitutions
Oreo Cookies: Regular Oreos bring classic flavor, but you can use any kind, like mint or peanut butter Oreos, for a twist!
Cream Cheese: This is what binds everything together. If you’re looking for a lighter option, try using Greek yogurt. It’ll still hold the cookie mix well!
Candy Melts: Red, white, and blue candy melts make it festive! If you can’t find specific colors, use colored chocolate or even white chocolate dyed with food coloring.
Sprinkles: White star sprinkles add a fun touch. If you can’t find them, try any other small sprinkles for a pop of color!
How Do You Get the Perfect Coating on Oreo Balls?
Coating your Oreo balls is key for that delightful look and taste. Follow these tips to ensure they come out great!
- Make sure your Oreo balls are chilled before dipping. This helps keep their shape.
- Melt the candy melts slowly. Use a microwave in 30-second bursts, stirring in between. This prevents burning.
- For dipping, use a fork or a toothpick; this helps avoid messy hands and gives good coverage.
- Let excess coating drip off before placing them on parchment. This keeps them neat and avoids puddles of candy.
- Decorate while the coating is still wet so that sprinkles stick well!
With these tips, your Oreo balls will be as fun to look at as they are to eat! Enjoy your patriotic celebration!
Easy Patriotic Oreo Balls for Red White Blue Parties
Ingredients You’ll Need:
- 36 Oreo cookies (regular or double-stuffed)
- 8 oz (about 1 cup) cream cheese, softened
- 12 oz red candy melts
- 12 oz blue candy melts
- 6 oz white candy melts or white chocolate chips
- White star sprinkles (for decoration)
- Parchment paper or silicone mat (for setting)
How Much Time Will You Need?
This recipe will take about 30 minutes of active prep time, plus 1 hour for chilling. The total time includes mixing, forming, decorating, and letting the Oreo balls set in the fridge. You’ll have a delicious treat ready to impress your guests in no time!
Step-by-Step Instructions:
1. Prepare Oreo Mixture:
Start by placing your Oreo cookies in a food processor. Blend them until they become finely crushed crumbs. If you don’t have a food processor, place the cookies in a sealed plastic bag and use a rolling pin to crush them.
2. Mix with Cream Cheese:
In a large bowl, take the crushed Oreos and add the softened cream cheese. Mix it all together until you get a smooth and uniform dough. This step is essential to ensure your Oreo balls hold together nicely!
3. Form Balls:
Scoop out about 1 tablespoon of the Oreo mixture and roll it into a smooth ball between your hands. As you make each ball, place it onto a tray lined with parchment paper. Continue doing this until you’ve used all of the mixture.
4. Chill:
Pop the tray in the refrigerator and let the Oreo balls chill for at least 1 hour. This helps them firm up, making them easier to coat later.
5. Melt Candy Coatings:
While your balls are chilling, melt the red, blue, and white candy melts in separate bowls. You can do this in the microwave by heating in 30-second increments, stirring in between until completely smooth. Make sure not to overheat!
6. Coat Balls in Color:
Using a fork or dipping tool, dip half of the Oreo balls into the red candy melts and the other half into the blue candy melts. Allow any excess coating to drip off before placing the balls back on the parchment paper. Don’t worry about perfection—each one will have its own character!
7. Decorate:
While the candy coating is still wet, sprinkle white star sprinkles on the blue-dipped Oreo balls to give them a festive touch. For the red-dipped balls, you can drizzle the melted white candy over them to create fun striped patterns.
8. Set and Chill:
Return the decorated Oreo balls to the refrigerator and let them chill until the coating is completely set, about 30 minutes. This will help them hold their shape and make them extra delicious!
9. Optional Decoration:
If you have extra melted white candy melts, you can drizzle some over the blue balls or add any other fun decorations as you like to make them even more festive!
10. Serve:
Once set, arrange your beautiful red, white, and blue Oreo balls on a serving plate or platter. Enjoy your tasty patriotic treat with friends and family!
These Oreo balls are sure to be a hit at any red, white, and blue celebration, bringing smiles to both kids and adults alike!
FAQ for Easy Patriotic Oreo Balls
Can I Use Different Flavored Oreos?
Absolutely! While classic Oreos work well, feel free to experiment with different flavors like mint, peanut butter, or birthday cake to add a unique twist to your Oreo balls!
How Can I Store Leftovers?
Store any leftover Oreo balls in an airtight container in the refrigerator for up to 5 days. If you want to keep them even longer, you can freeze them for up to 3 months! Just make sure to separate layers with parchment paper to prevent sticking.
What If My Candy Coating is Too Thick?
If your melted candy melts seem too thick for dipping, you can add a small amount of vegetable oil or shortening to thin it out. Just add it gradually until you reach your desired consistency for better coating!
Can I Make These Oreo Balls in Advance?
Yes! You can prepare the Oreo mixture and form the balls a day or two ahead of time. Just store them in the fridge until you’re ready to coat and decorate them before serving!