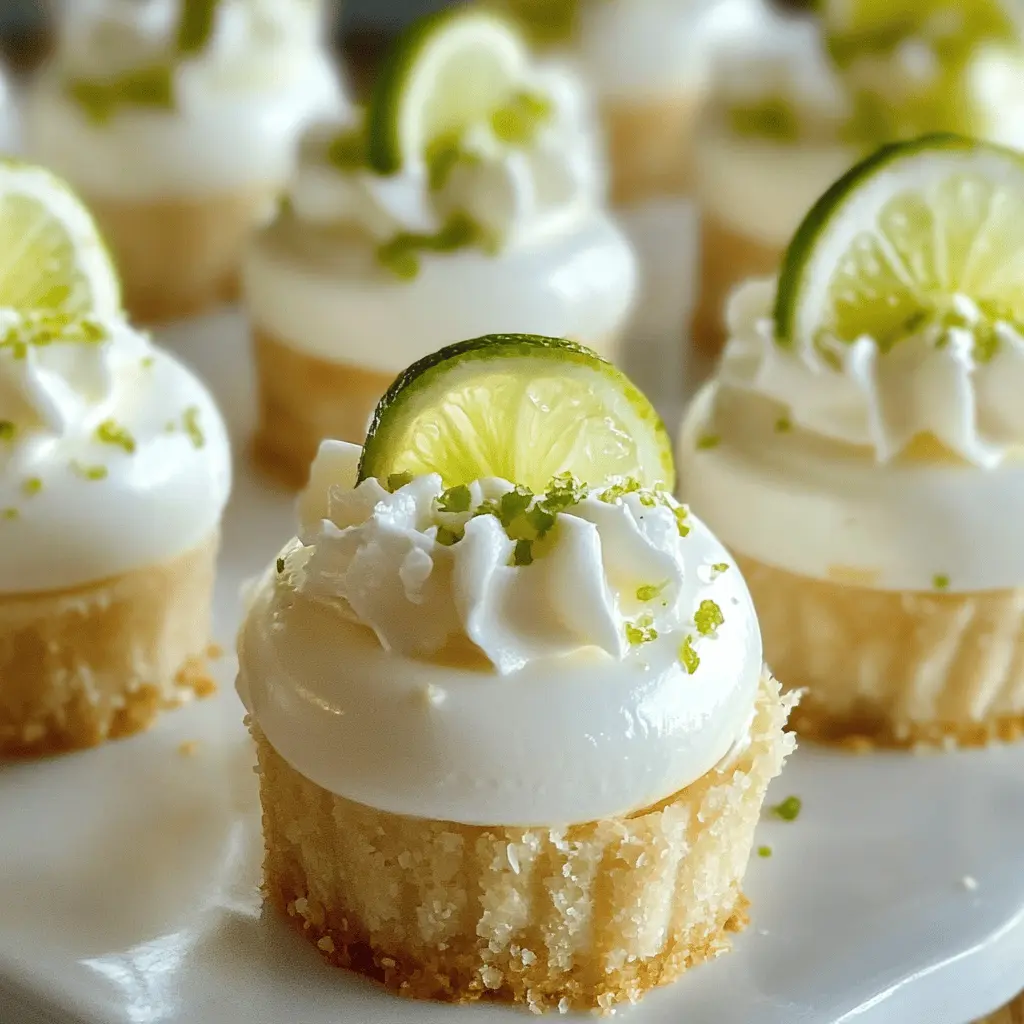
These cute no-bake mini key lime pies are a perfect treat! With a buttery crust and creamy lime filling, they’re refreshing and super fun to make.
Plus, no baking means less fuss in the kitchen! I love bringing these to parties—everyone gets a little pie just for them. What’s not to love? 🥧💚
Key Ingredients & Substitutions
Graham Crackers: The base of the crust adds a sweet crunch. If you’re in the mood for something different, try digestive biscuits or even crushed vanilla wafers for a unique flavor.
Cream Cheese: This gives the filling its rich texture. If you’re looking for a lighter option, Neufchâtel cheese can work, or even a dairy-free cream cheese for a vegan alternative.
Key Lime Juice: Freshly squeezed juice is best for flavor. However, if you can’t find key limes, regular limes work just fine, though they’ll be a bit less tart.
Heavy Whipping Cream: This creates the fluffy texture. If you’re short on time, consider using pre-whipped topping, but fresh whipped cream provides the best taste.
How Do You Ensure Your Whipped Cream Stays Fluffy?
Whipping cream can be tricky, but there are some simple tips! First, ensure your bowl and beaters are cold; this helps the cream whip up better. Start on low speed to combine, then increase to high speed.
- Whip until soft peaks form, then gradually add powdered sugar while whipping.
- Continue until stiff peaks form. Be gentle and stop before it turns grainy!
Folding is key; use a spatula to gently mix the whipped cream into the key lime mixture without deflating it. This keeps your pies light and airy!
How to Make No-Bake Mini Key Lime Pies
Ingredients You’ll Need:
For the Crust:
- 1 cup graham cracker crumbs
- 1/4 cup sugar
- 1/3 cup unsalted butter, melted
For the Filling:
- 1 (8 oz) package cream cheese, softened
- 1 (14 oz) can sweetened condensed milk
- 1/2 cup key lime juice (freshly squeezed for best flavor)
- Zest of 2 key limes
For the Whipped Topping:
- 1 cup heavy whipping cream
- 1/4 cup powdered sugar
- Lime wedges and additional lime zest for garnish
How Much Time Will You Need?
This recipe requires about 15 minutes of preparation time, followed by at least 4 hours of chilling time in the refrigerator. That’s a bit of waiting, but it’s definitely worth it for these refreshing mini desserts!
Step-by-Step Instructions:
1. Prepare the Crust:
In a medium bowl, mix together the graham cracker crumbs, sugar, and melted butter. Stir until the crumbs are coated with the butter. Then, press the mixture firmly into the bottom of mini tart pans or muffin cups to form the crust. Once done, place them in the refrigerator while you make the filling.
2. Make the Cream Cheese Filling:
In a large mixing bowl, use a hand mixer to beat the softened cream cheese until it’s smooth and creamy. Gradually add in the sweetened condensed milk, mixing continuously until everything is well combined and there are no lumps.
3. Add the Key Lime Juice and Zest:
Stir in the freshly squeezed key lime juice and zest until it’s all blended together. Set this mixture aside while you prepare the whipped topping.
4. Whip the Cream:
In a separate bowl, pour in the heavy whipping cream. Use a hand mixer to whip it until soft peaks form. Gradually add the powdered sugar and continue to whip until you achieve stiff peaks. This means the cream is thick enough to hold its shape.
5. Combine the Mixtures:
Gently fold the whipped cream into the key lime mixture. Do this carefully until there are no white streaks left. The goal is to keep the mixture light and fluffy, so be gentle!
6. Fill the Crusts:
Spoon the key lime filling into the chilled crusts, smoothing the tops so they look nice and neat. Then, place them back in the refrigerator to chill for at least 4 hours, or until they are fully set.
7. Serve Your Mini Pies:
When you’re ready to serve, carefully remove the mini pies from their molds. Top each one with a dollop of whipped cream and garnish with lime wedges and extra lime zest if you like. Enjoy your delightful, refreshing No-Bake Mini Key Lime Pies!
Enjoy your baking adventure! 🍰

Can I Use Regular Limes Instead of Key Limes?
Absolutely! While key limes have a distinctive tart flavor, regular limes can be used as a substitute. Just keep in mind that the taste will be slightly different, but still delicious! You can use the same amount of lime juice and zest in the recipe.
How Can I Make These Pies Gluten-Free?
To make gluten-free mini key lime pies, simply substitute the graham cracker crumbs with gluten-free graham crackers or alternative crust options like crushed gluten-free cookies or almond flour. Ensure that any other ingredients used are also gluten-free!
What’s the Best Way to Store Leftovers?
Store any leftover mini pies in an airtight container in the refrigerator for up to 3 days. If the whipped topping starts to separate, you can quickly re-whip it to regain that fluffy texture before serving.
Can I Make These Pies in Advance?
Yes, you can make these mini pies up to a day in advance! Just make sure to keep them refrigerated until you’re ready to serve. This way, the flavors can meld together nicely, making them even tastier!